
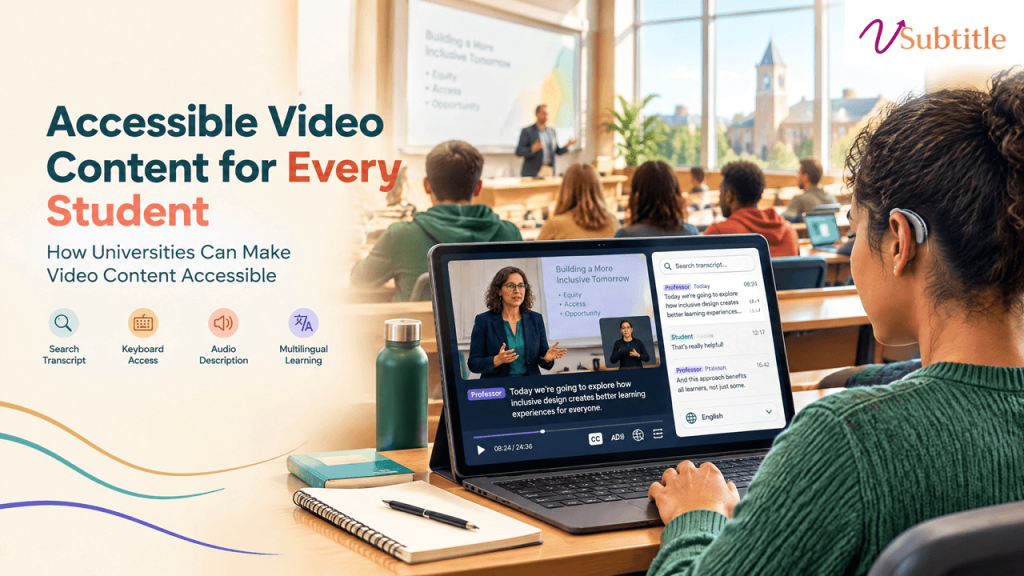
How Universities Can Make Video Content Accessible
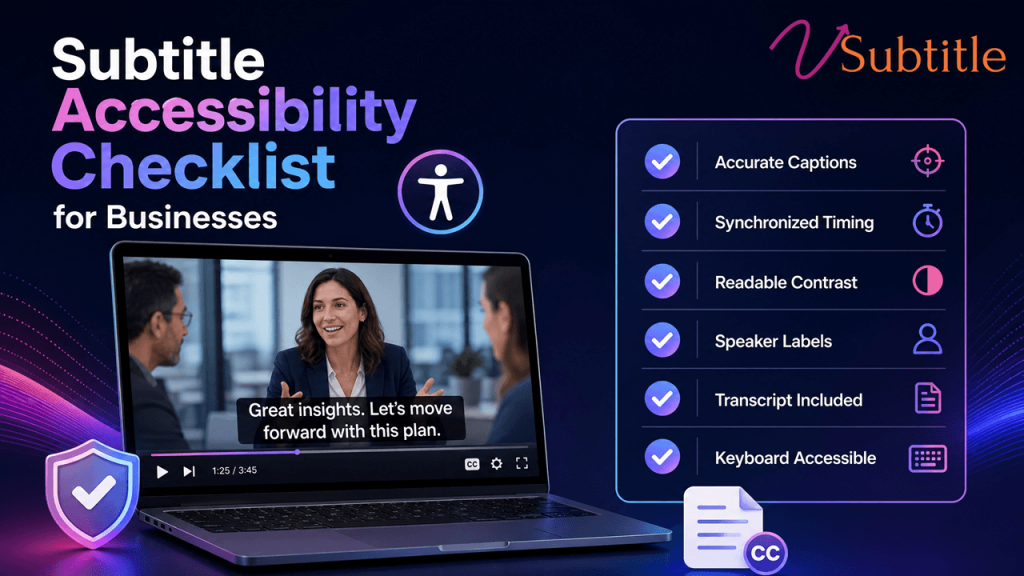
Thousands of hours of lecture recordings, course content, and campus video sit across every university’s LMS, YouTube channel, and department drives — mostly untouched, mostly non-compliant. Key Takeaways Lecture recordings. Training modules. Course content. Orientation materials. Webinars. Every university has accumulated years of this material across its learning management system, YouTube channel, department drives, and individual faculty hard drives — and most of it was never built with accessibility in mind. That gap used to be a soft compliance risk. It’s now a hard, named legal standard with a real deadline attached. Under the Department of Justice’s 2024 rule for ADA Title II, public universities and colleges must bring their video, audio, and digital course content into conformance with the Web Content Accessibility Guidelines, version 2.1, Level AA — a technical standard published by the World Wide Web Consortium (W3C) and formally adopted as the legal benchmark on ADA.gov. This guide covers what that standard actually requires for video specifically, where universities most commonly fall short, and a practical rollout plan for closing the gap. The Legal Landscape in 2026 The Department of Justice published its Title II final rule in April 2024, formally naming WCAG 2.1 Level AA as the required technical standard for state and local government entities — a category that includes essentially all public universities and colleges, since population thresholds are calculated at the state level. In April 2026, just days before the original deadline, the DOJ issued an Interim Final Rule extending both compliance dates by one year. Importantly, the DOJ was explicit that the extension delays the compliance date only — it does not pause or suspend the underlying obligation to provide accessible services, and private litigation risk continues in the meantime. Institution Size Original Deadline Extended Deadline (as of April 2026) Public entities serving 50,000+ population (covers nearly all public universities) April 24, 2026 April 26, 2027 Smaller entities and special district governments April 26, 2027 April 26, 2028 This clarity is relatively new. Before the 2024 rule, accessibility expectations for higher ed video were shaped largely by DOJ resolution agreements and litigation — including a well-known case involving the University of California, Berkeley that required remediation of inaccessible online video content, and lawsuits involving Harvard and MIT that reinforced expectations around video captioning specifically. Those cases established that accessibility was required; the 2024 rule is what gave institutions a single, measurable, named standard to build toward, published in the Federal Register and detailed further on ADA.gov’s implementation guidance. Private institutions aren’t directly covered by ADA Title II, which applies specifically to state and local government entities, but private colleges and universities generally fall under ADA Title III as places of public accommodation, and courts have applied similar accessibility expectations there. Federal funding recipients — which includes most private institutions receiving federal financial aid dollars — also face parallel obligations under Section 504 of the Rehabilitation Act. What WCAG 2.1 AA Actually Requires for Video “Accessible video” is more specific than most institutions initially assume. WCAG 2.1 Level AA breaks the requirement into several distinct success criteria, and satisfying one doesn’t automatically satisfy the others: WCAG Success Criterion What It Requires 1.2.1 – Audio-only and Video-only (Prerecorded) A text alternative (transcript) for audio-only content like podcasts, and either an alternative or audio track for video-only content 1.2.2 – Captions (Prerecorded) Synchronized captions for all prerecorded video with audio — a standalone transcript does not satisfy this on its own 1.2.3 / 1.2.5 – Audio Description Narration of key visual information (slides, diagrams, demonstrations, on-screen text) not already conveyed in the spoken audio 1.2.4 – Captions (Live) Real-time captions for live synchronized media, including live-streamed lectures, webinars, and Zoom or Teams sessions 1.4.3 – Contrast Caption text and any on-screen text must meet minimum contrast ratios for readability 2.3.1 – Three Flashes or Below Threshold Video content must not contain flashing that could trigger photosensitive seizures Player accessibility (multiple criteria) The video player itself must be operable by keyboard alone, with accessible controls for play, pause, volume, and caption toggling Two details here catch most institutions off guard. First, a transcript published next to a video does not satisfy the captioning requirement — WCAG specifically requires synchronized, timed text, not just adjacent reading material. Second, audio description is treated as a genuinely separate requirement from captions, not an optional extra: if a lecture video shows a slide with text or a diagram that’s never described out loud, a blind or low-vision student has no way to access that information even with perfect captions. One survey found only about 23% of educators currently include audio description, meaning the large majority of institutional video may already fail this specific criterion regardless of how well captioning has been handled. Where Universities Most Commonly Fall Short Lecture Capture and Course Content This is typically the largest remediation surface by volume — years of recorded lectures, often produced with auto-captioning turned on and never reviewed. Auto-generated captions are a reasonable starting point, but accuracy on technical, discipline-specific vocabulary and accented speech is consistently where institutional audits find the most failures. Faculty-Uploaded and Department-Level Content Centrally managed video (official university YouTube channels, flagship course platforms) is far more likely to be captioned than video uploaded directly by individual faculty or departments to a course site, a shared drive, or a personal platform account — content that frequently falls outside any centralized accessibility review entirely. Live and Synchronous Sessions Live-streamed lectures, webinars, and virtual office hours conducted over Zoom or Teams need real-time captions under WCAG 1.2.4, a distinct requirement from prerecorded content — and one that’s easy to overlook since it requires a different technical setup than simply captioning a finished recording afterward. Everything Layered on Top of the Player The accessibility obligation doesn’t stop at the video file itself. Interactive elements layered on top — embedded quizzes, discussion panels, note-taking tools — have to be operable by keyboard and legible to a screen reader independently. A video with